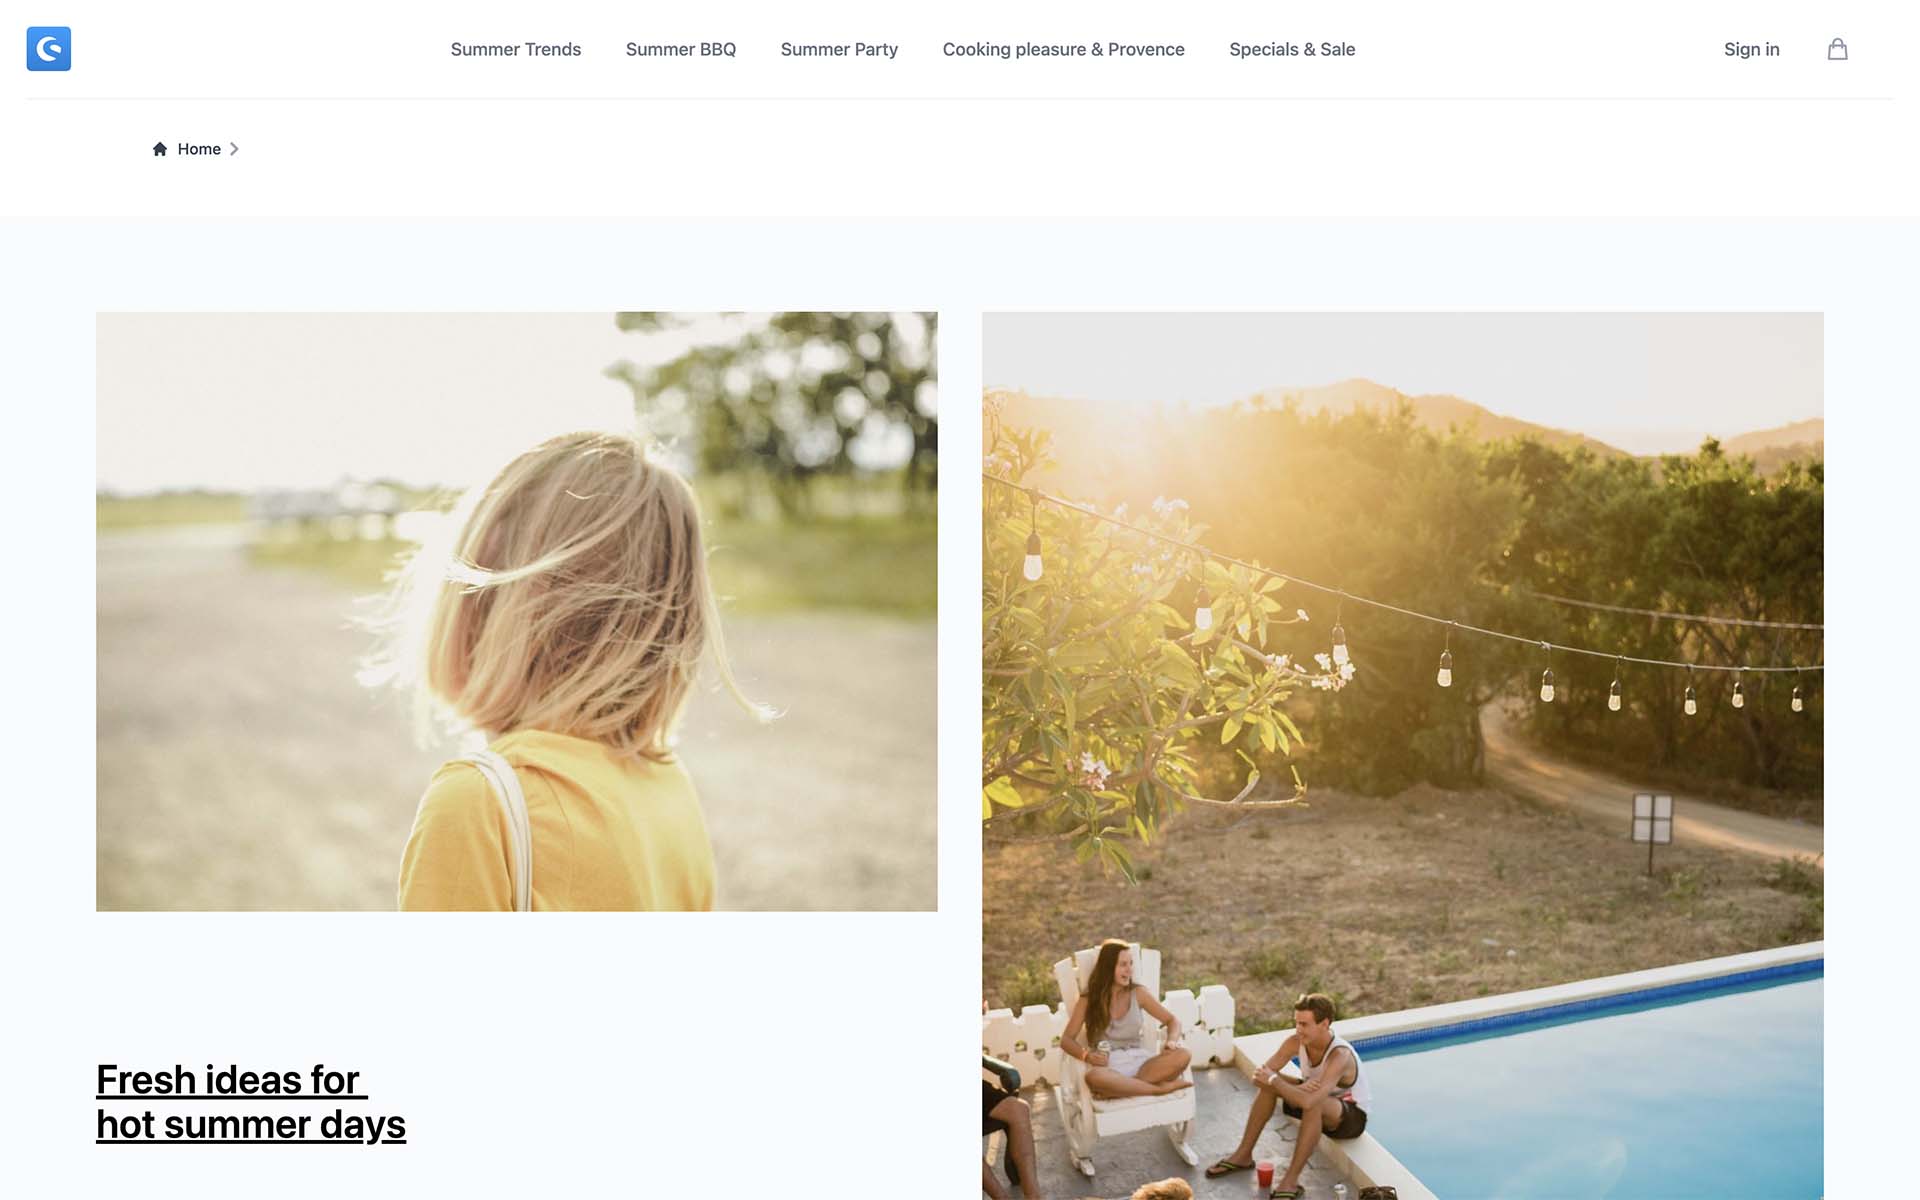
Appearance
Demo Store Template
The demo store template is a reference implementation of an online store UI.
INFO
The Demo Store Template is not suitable for production stores. It is under constant development and does not adhere to any versioning. Please go to Limitations for more information.
Setup & run
Alternatively, set up the blank template manually by running the following commands in a new directory:
bash
npx tiged shopware/frontends/templates/vue-demo-store demo-store && cd demo-store
npm i && npm run dev
Directory structure
The directory structure is the same as in a default Nuxt project:
json
demo-store/
├─ components/
|  ├─ layout/       /* header, footer, account menu etc. */
|  ├─ checkout/     /* cart items, cart overview */
|  ├─ account/      /* order history, account settings */
|  ├─ shared/       /* modals, notifications */
|  ├─ ...
├─ layouts/
│  ├─ checkout.vue  /* minimal layout without navigation and footer */
│  ├─ default.vue   /* default layout with navigation and footer */
├─ pages/
│  ├─ checkout/     /* checkout pages */
│  ├─ account/      /* user account pages */
│  ├─ ...
├─ app.vue          /* app root component */
├─ nuxt.config.ts   /* app configuration */
├─ package.json
├─ tsconfig.json
The components directory contains components that have been extracted from their corresponding page components, so these become more readable. The components within components are organized based on the page and layout components they are used in. The shared directory contains generic components that are used across multiple pages and layouts.
Customizing the template
There is no concept of overriding components in the demo store template. Instead, all components are modified directly. When creating a new project, we recommend adding your custom git repository as a remote and keeping the original demo store template as a fork, so you can always pull changes manually.
Updates & Breaking Changes
The demo store template is a boilerplate, so it will constantly be updated, as we will continously add new features and make improvements. These updates include breaking changes. If you want to stay up to date with the latest changes, you need to keep your project in sync manually.
CMS Components
One exception to the rule are CMS components. CMS components are handled as a separate package cms-base in Shopware Frontends and can be updated automatically. However, you can still override the components from the package in your custom project.
Configure
The blank template is pre-configured to connect to a public Shopware backend, so you start building right away.
In order to connect it to your own store backend, you need to edit the nuxt.config.ts file and edit a configuration object with shopware as a key:
ts
/* ... */
export default defineNuxtConfig({
  /* ... */
  runtimeConfig: {
    public: {
      shopware: {
        endpoint: "https://your-business.shopware.store",
        accessToken: "access-token-from-settings",
      }
    }
  }
});
You can also use .env file to override this configuration. More about this you can find here
Limitations
The Demo Store Template suggests how to build a store UI with Shopware Frontends. It does not make any assumptions about custom implementations and hence does not contain every feature of Shopware.
Some important limitations are
- Frontend settings are not synchronized from the backend - such as
- Available fields for checkout and registration
- Multiple domains
- Translations and snippets
- No support for multiple currencies
If you think a specific feature should be part of the demo store template, feel free to create an issue or make a contribution.

